
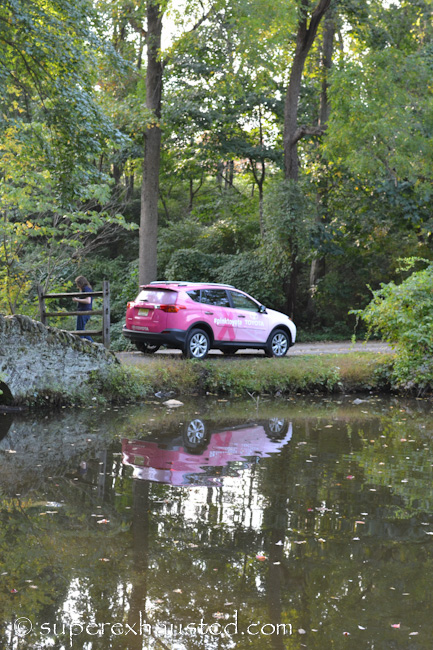


Disclosure: I was provided the #PinkToyota for a week free of charge to make women Remember to schedule your mammogram and bring awareness
Disclosure: I was provided the #PinkToyota for a week free of charge to make women Remember to schedule your mammogram and bring awareness
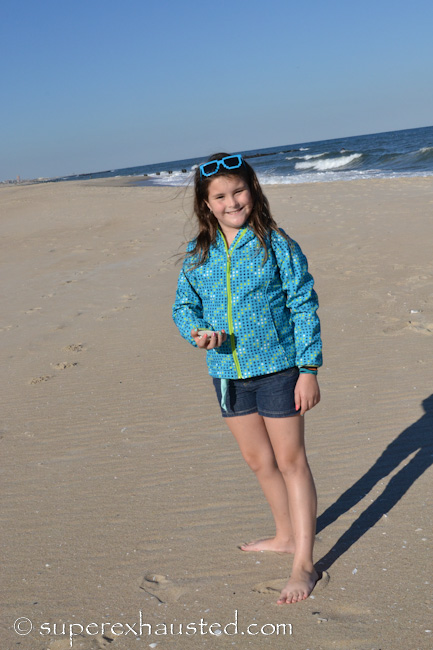
 Linked to Wordless Wednesday, http://www.create-with-joy.com, 5minutesformom,

Free picture editing: How to use Picmonkey to edit your Photo Lightening your photos simple and easy using “Curves” this is a how to edit your photos. I take a lot of photos and my husband who is a photo retoucher and graphic artist taught me in Photoshop a function that help to in prove my pictures. “Curves” a small movement helped me to make my pictures pop. Curves is actually color saturation tool but .. it works great on lightening evenly photos.
PicMonkey think the every mans Photoshop without the stuff you don’t understand. Photo Shop where I like using it.. I like the simplicity of PicMonkey.com more.. and the paid version of PicMonkey offers curves.If you spend the $4.99 a month or $33 picmonkey.com opens up a whole new world to what you can so with your pictures.
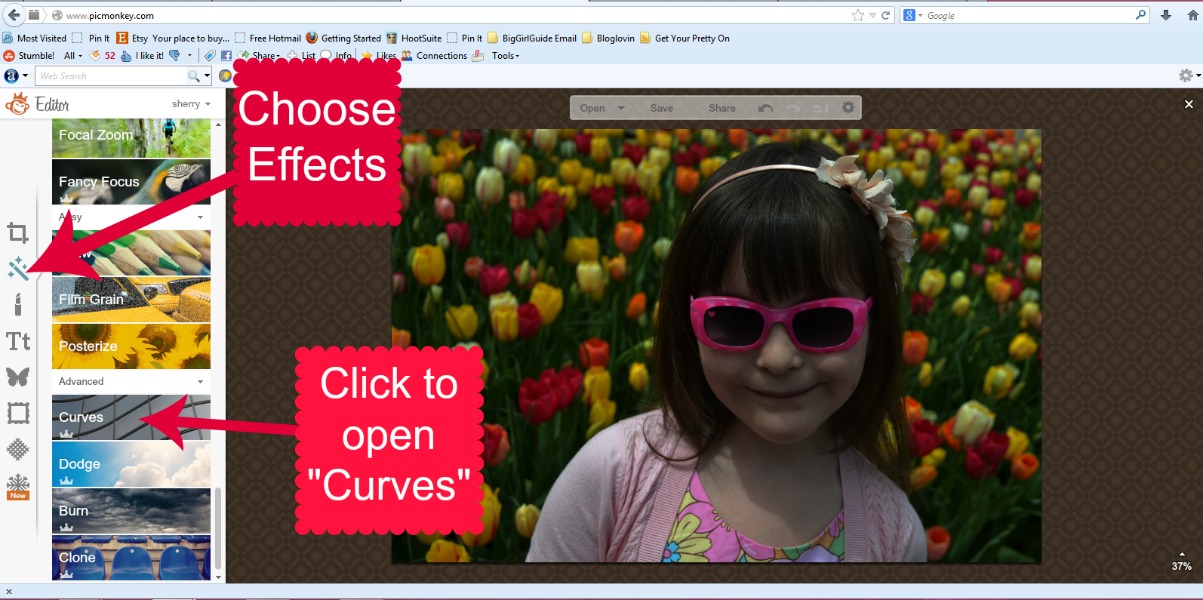
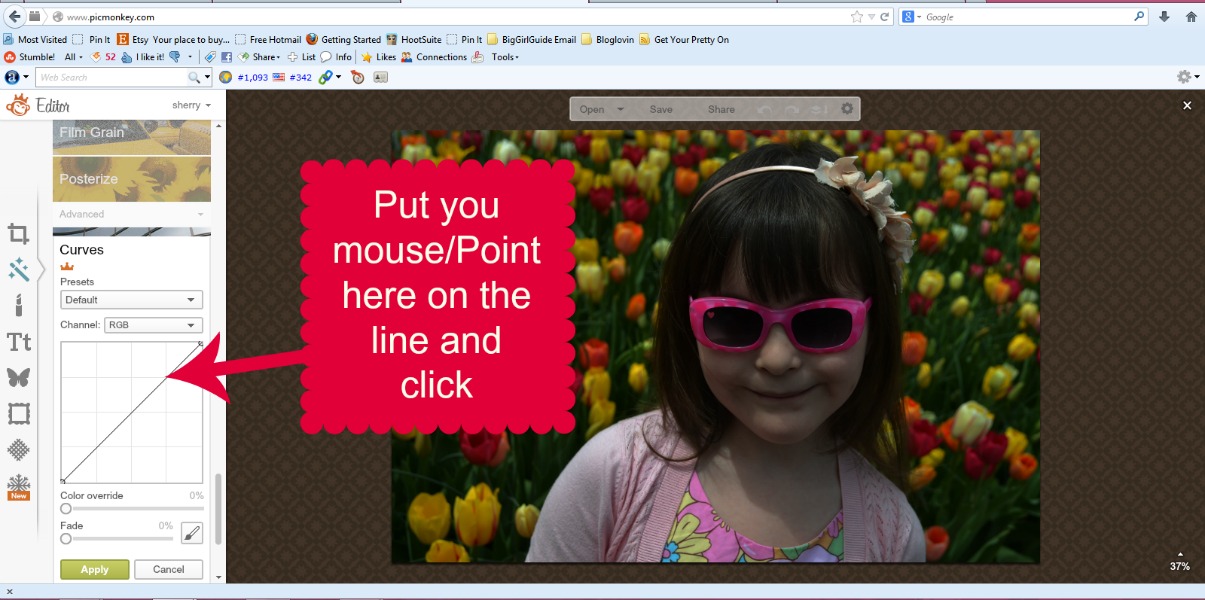
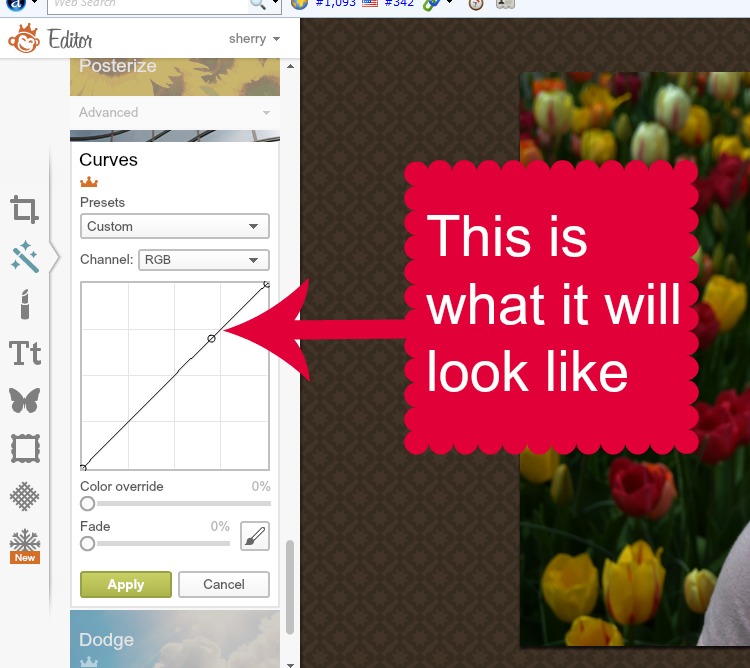
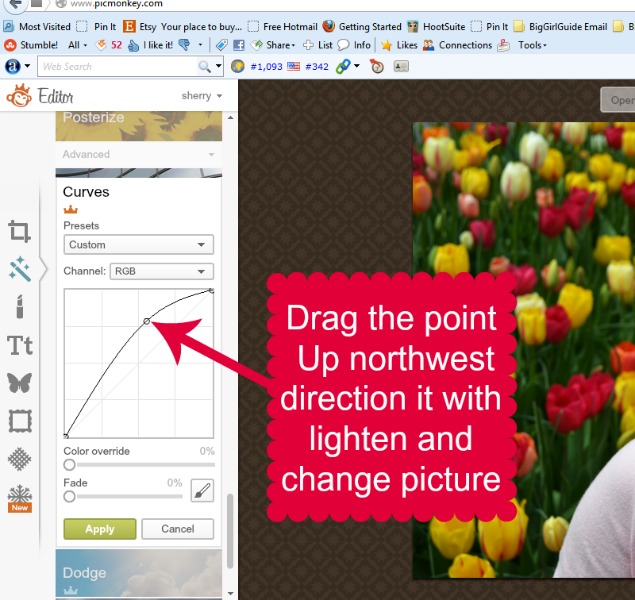

It is that simple to improve you photos with Curves..
I know you will love all the effects on Picmonkey I love Boost and also Temperature feature.
Be sure to follow me on Pintrest
Have fun correct your photos. Let me know how you make out.


 A precious moment in time.. no the baby is not mine..
So the winter blue have set in. It has been yuck for 5 days. Here is a little sunshine. 


How are you fighting the winter blues?

 So every year around this time I start think the Holidays are around the corner. I start taking pictures in hopes that one might be perfect for theholiday card of the year. The one that sent to all friends and family.
People might know that I love taking pictures, if you read my blog you will see that most of the photos are mine.
Tips for getting great Photos to use on your Holiday cards:

So you want to save some money from Shutterfly for your Holiday cards be sure to visit Shutterfly’s Special Offers page.
You want to win ? Giveaway prize: an extra $50 off order of $50 or more (excluding tax and shipping & cannot be combined with any other promos (expire 12/14/2012 – no extensions)
a Rafflecopter giveaway
This post is sponsored by Shutterfly, Disclosure I will receive product from Shutterfly in exchange for this post.

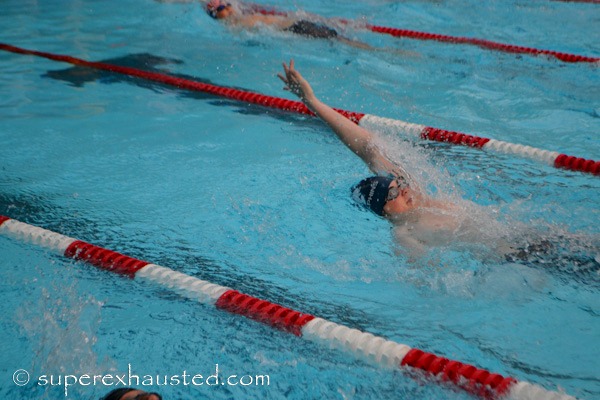
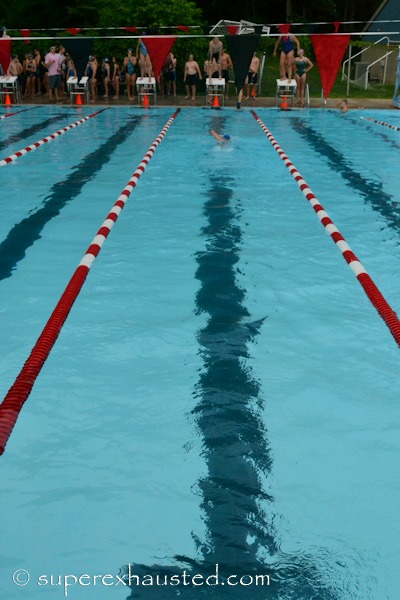
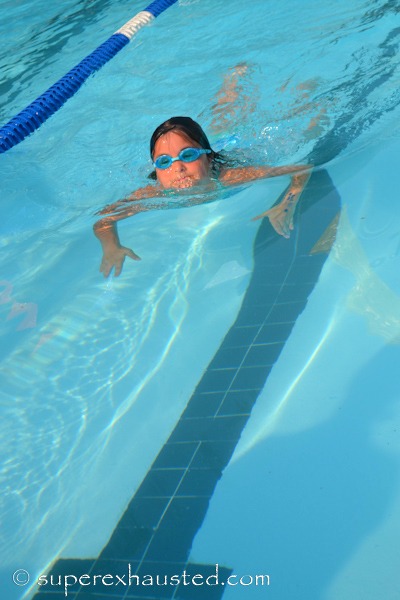
This is my Wordless Wednesday post for Camping week.
Be sure to check out my
Monday Post on Modern camping 11 reasons to take your kids camping
Tues post what to eat – 10 Camping Foods. 


